Scenery
Belina Test
07/11/23 07:42
While the big cardboard was out, I decided to mock up some scenery ideas for the peninsula.
Belina backdrops have been mentioned in hobby publications over the years as a way to hide a turnback curve at the end of a peninsula. 180˚ curves are far more common on model railroad layouts than real railroads. Jerry Belina came up with an idea for preventing someone from being able to stand at the end of a peninsula to get a view of the tracks on both sides with a tight loop of track connecting them.
View from the layout room door of the Belina drop and high ridge view block in place. They make it much easier to focus attention on the area around the wye.
There is a turnback curve around the end of the peninsula on my layout. The benchwork extends about a foot beyond it, as I anticipated the need for some tall scenery between the track and aisle to "enclose" the view of the track and prevent the appearance of the trains curving tightly in order to avoid running off the edge of the layout.

A layout visitor would have to walk all the way around the peninsula in order to see this scene. The high ridge view block curves and runs parallel to the wall blocking the view of the hidden track while still allowing access to it from directly above.
My plans for scenery on the peninsula have always included a high ridge running down the middle to block the view of one side from the other. The ridge would have to curve as it approaches the wall to block the view of the hidden track that runs close along the west wall. Not being able to visualize how that was going to work, I wanted to mock up the view blocking scenic profile for the center of the peninsula, and a Belina drop for the end.

Turnout at extreme right is inaccessible with Belina drop in place.
The mockups were generally successful. The Belina drop did indeed prevent the view of the track around the end of peninsula from being distractedly drawn into the aisle. But there is a turnout in the turnback curve around the end of my peninsula which the Belina Drop renders inaccessible. The high ridge running down the center of the peninsula is an effective viewblock except from the prespective of the layout room doorway. Standing in the doorway it is very easy to sight down the long hidden track running along the wall regardless of the high ridge.

Standing in the doorway provides an unwanted view of the hidden track on the right running along the wall.
Composing Scenes
05/09/23 14:32
Iain Rice is one of my favorite authors on the subject of model railroading.
I collected all his books intended for an American audience only to find he had written even more for British and European modelers. I have not aquired every Iain Rice book, but my favorite that I have managed to obtain so far is Finescale in Small Spaces.
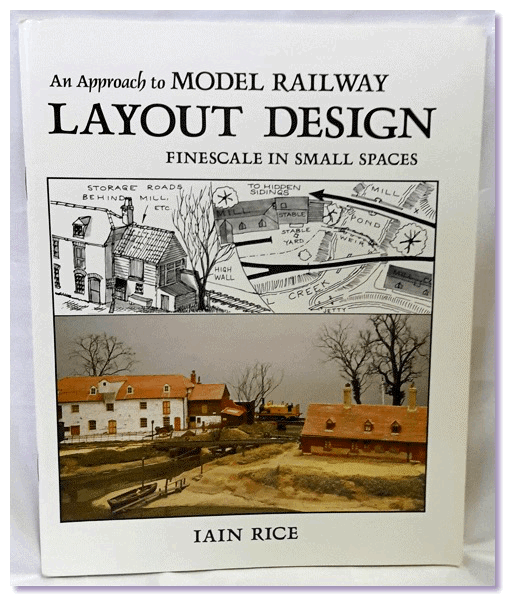
Accustomed to American model railroading publications being light on words and heavy on illustrations, this book has column after column of tiny type composing text intended for a British reader. I have managed to stick with it and read this book completely through several times, and no doubt will do so again. I gain new insights every time I read it.
The chapter that I focused on for this project is "Designing For Visual Effect." After multiple readings, I began to understand how important this is for any layout, whether it be a small finescale pike or otherwise. The earlier in the layout construction process that things like composition and sight lines are considered, the better chance they have of manifesting themselves in the finished scene.
I divided my layout into a series of scenes through which the right-of-way runs. Each scene has a Focal Point. Scenes are divided by some form of Containment that would break the view of a Visitor so they can interpret the beginning and ending of each scene.

Focal point in upper left, Containment in lower right
The Focal Points are identified by index cards marked with an "F." Containment areas are identifed by index cards marked with a "C." I can't recall Iain ever recommending using index cards in such a way to help previsualize scenes. He articulates designs far more effectively in his beautiful sketches. I feel that, once the benchwork is in and the track is laid, it makes more sense to work out the composition of scenes on the layout itself using foam board scraps, cardboard boxes, index cards.
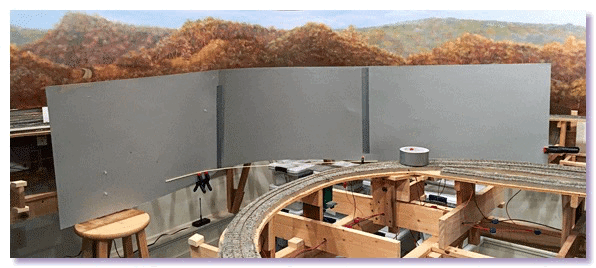
With scenes roughly defined by "F" and "C" index cards, I taped together sheets of cardstock to make a pattern for the fascia.
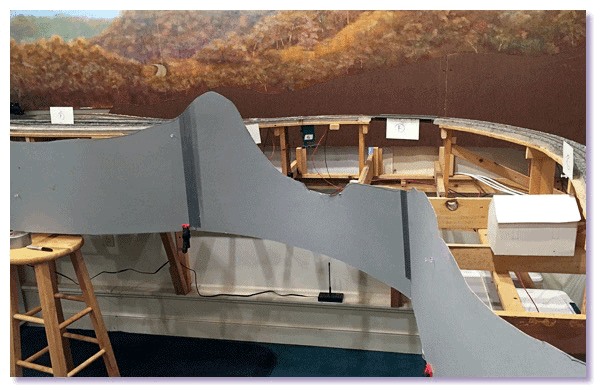
Rises and dips in the fascia were made taking the locations of the F and C index cards into account, with an eye toward complementing the ridge lines on the backdrop.
Old and New Combined
25/03/23 09:14
I laid the long strip of cardboard on the floor of my shop along with the section of the full sized track plan that showed the southeast corner of the layout.

The one foot grid from the plan was transferred to the cardboard so I could position it along the backdrop.

Using the track plan as a guide, I drew a back scenic profile on the cardboard. The cardboard was trimmed to the profile and set in position.
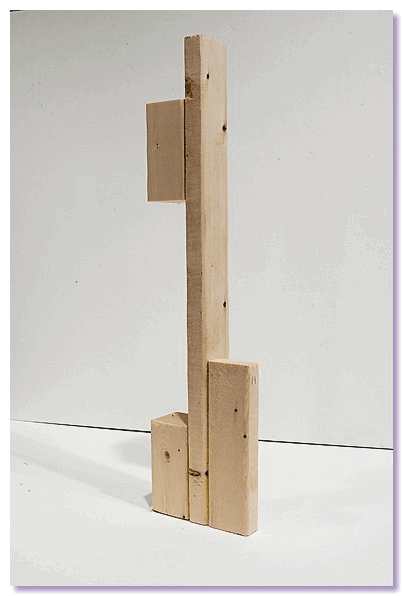
I had saved the cleats that held the previous back profile board in position.
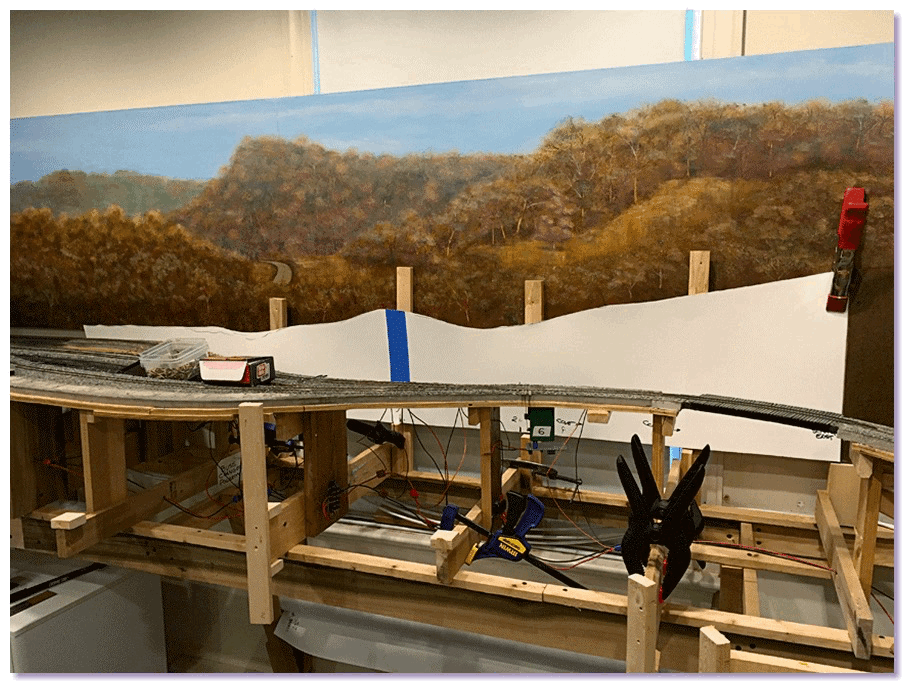
They were much too tall for the new profile.

The old scenery had been much higher in the back, mainly due to the fact that I did not paint the backdrop down far enough. Since then I have extended the backdrop painting much further down.
The cleats were trimmed down so they would not show above the new back scenic profile. The cardboard pattern was used to cut the Masonite profile.
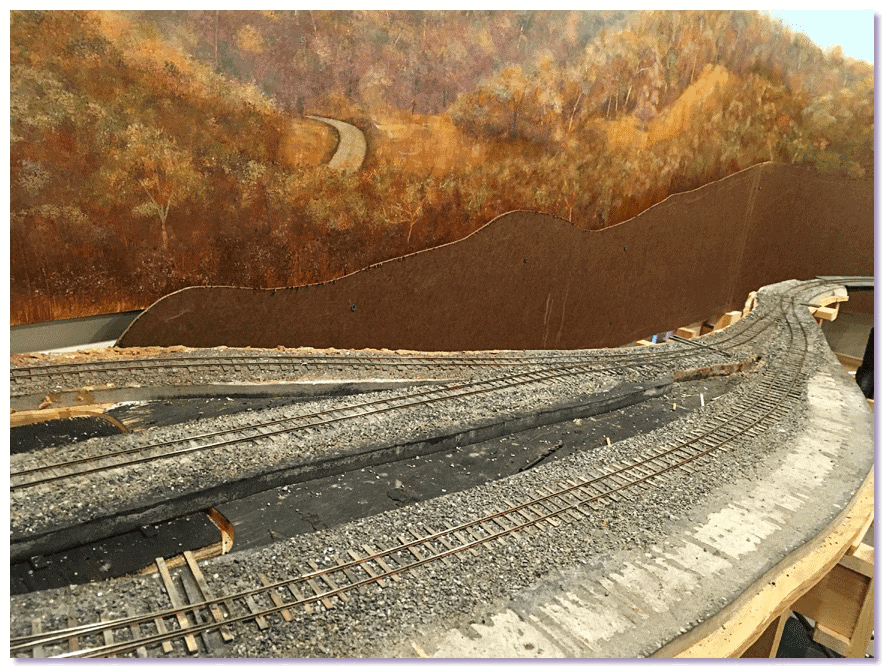
The Masonite profile positioned and installed.
Scenery Behind the Track
19/11/21 11:10
The corner of the layout farthest from the door will be primarily scenic.

The area can be generally defined as where there is enough space behind the track to develop the scenery to any extent. The white cardstock in the photo extends about 6 feet or so in either direction out of the southeast corner. Beyond it the roadbed swerves really close to the backdrop on the right and left.
The cardstock will be used to create a pattern for cutting Masonite for the back profile of the scenery.
A Place for Everything
04/05/20 09:13
For years I made frequent trips to the Quarry Gardens at Schuyler
I worked on the Railroad Display in the Visitor Center there.
Still in Quarry Garden mode one year later
While at the Visitor Center, I would compile a list of items I needed to bring with me on my next trip. Back in my shop, I stocked a shelf rack with the tools and supplies that regularly showed up on the list. The night before heading back to Schuyler, I would use my list to pull what I needed and load the blue box at the bottom of the photo. Upon my return I would unload the box back onto the shelves.
One year after the last trip I made to the Quarry Gardens to work on the Railroad Display, the shelf rack and blue box still looked like I was planning to go back to Schuyler the next morning.
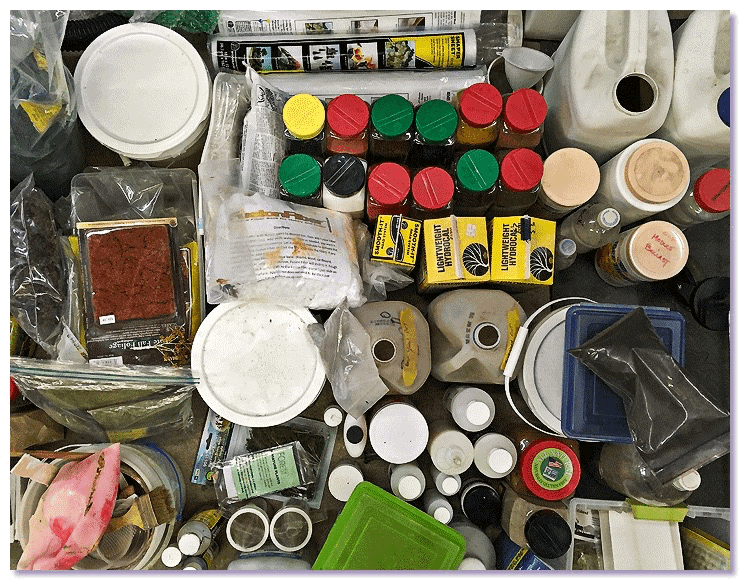
What a pile of stuff!
The day finally came to clear the shelves and put everything away. A complete rethink of my storage system was required.
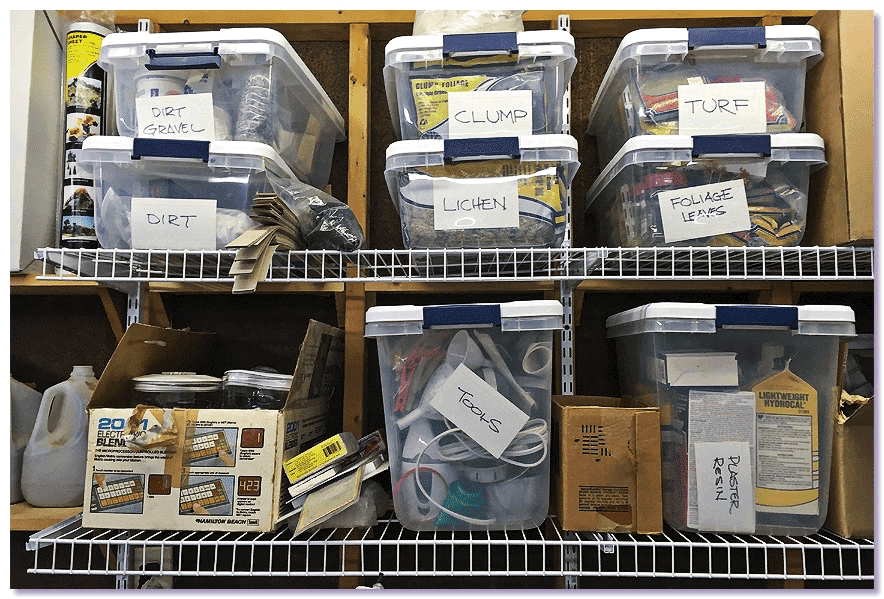
Organized and arranged on the walls
I bought clear plastic containers, choosing sizes that both accommodate the contents and efficiently fill the space under the layout once construction progresses to the point that I can move them there. The taller containers will go on the floor, with two short containers stacked on top, total height coming up to 3 inches from the bottom of the benchwork. Something to keep in mind when installing the fascia.
For now, everything is organized and put away on shelves around the perimeter of the shop. So far I have been able to find things quickly.
Backdrop Painting
11/02/20 07:59
Going back around the backdrop and extending the tree/foliage pattern downward meant doing a passable job of matching painting I did 15 years ago.
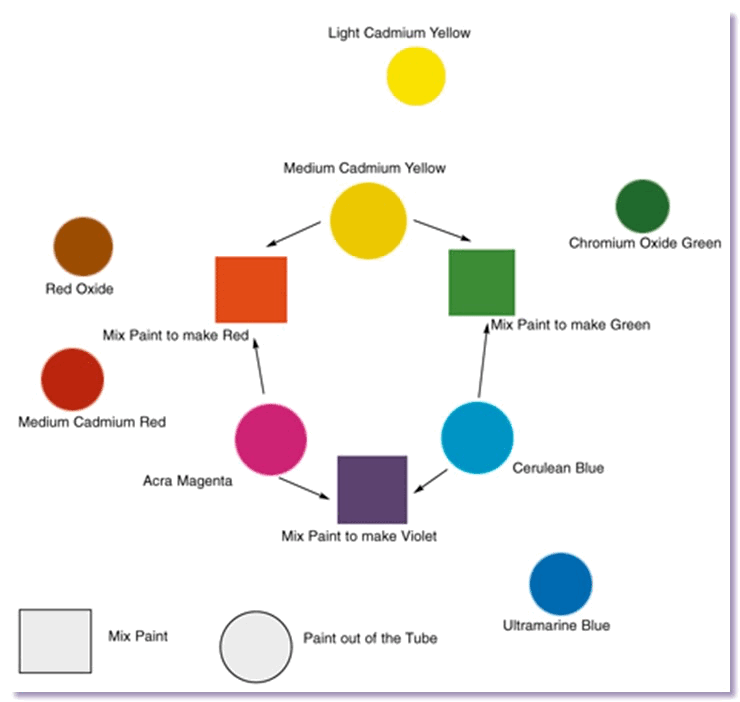
To do that I dug up old notes and looked at old progress photos.
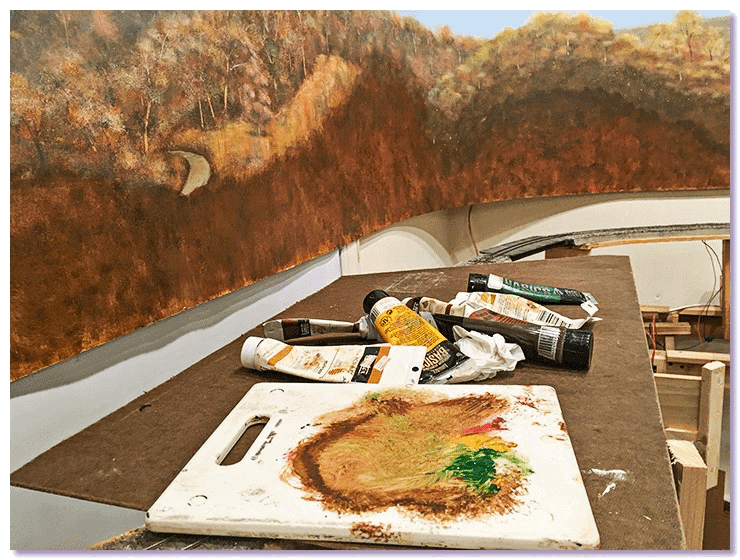
The new foliage only had to be good enough to not be distracting or draw attention to itself.

Since it was all down toward the bottom of the backdrop, a lot of it will eventually be hidden by 3-D scenery.
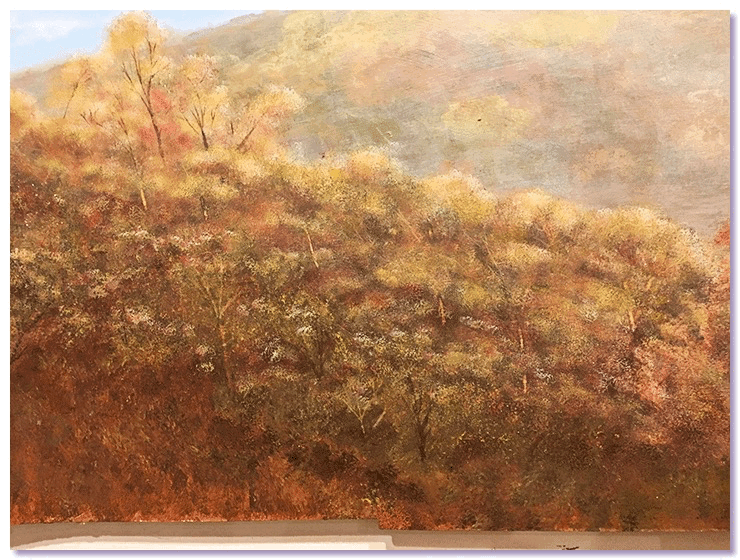
These revisions to the backdrop are going to give me a lot more flexibility when it comes time to design and install the sub scenery.
Downward Extension
08/01/20 08:52
The very first Construction blog entry on this website from December 2006 was about painting the backdrop.
At the time, I was preparing to host an Open House for the January 2007 Meet of the James River Division. At that Meet, I gave a clinic on backdrop painting, then invited attendees to my home to see my backdrop, which was the only thing to see in the train room at that time.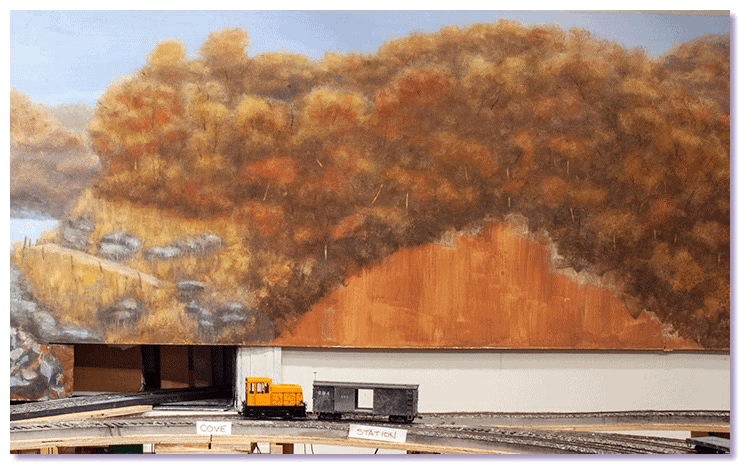
The bottom of the backdrop is high above rail height, and many areas are not completely painted.
Once construction of the layout progressed to scenery, it became clear that I had made a serious error in judgement regarding the backdrop. I painted it only as far downward as I assumed was necessary relative to the 3D scenery to be built in front of it, and my assumptions were incorrect. In general, the background tree and foliage patterns on the backdrop needed to be extended downward. There were places where the actual backdrop itself needed to be extended downward as well.
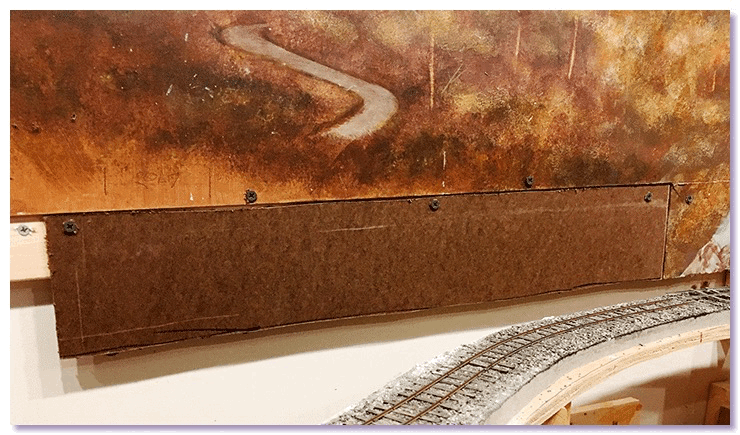
Strips of Masonite were used to extend the backdrop down to rail height or slightly lower in several areas.

The seams around the new extensions were spackled, sanded, then painted with white primer. Afterwards I dug out my acrylic paints. Also dug out the handouts from my backdrop painting clinic in 2006 to relearn the process of painting my backdrop.