November 2020
Standard Gauge Sidings
30/11/20 09:55 Filed in: Roadbed/Track
Over at the Transfer, it was time to install the standard gauge sidings.
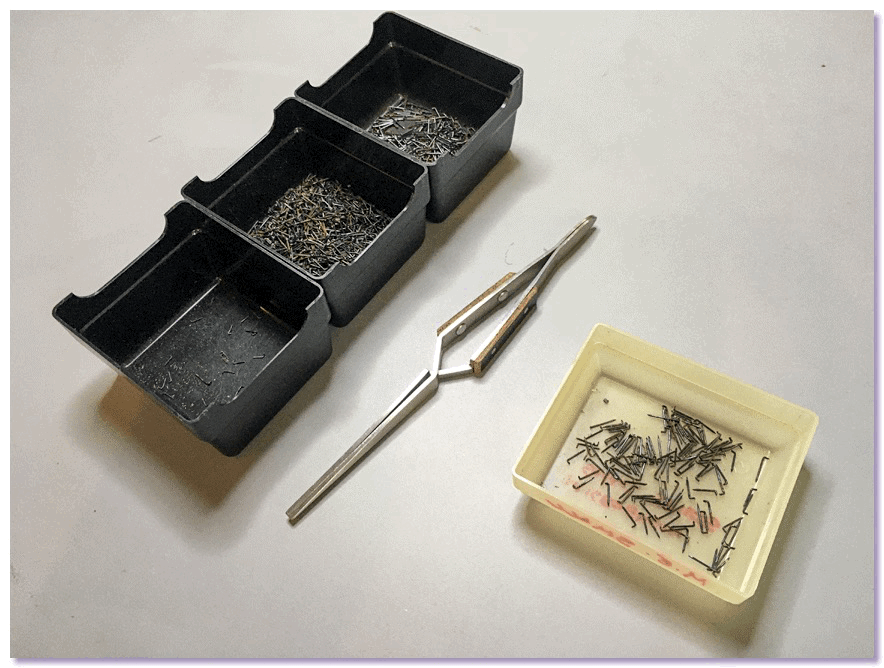
As I was pulling up track in the ill-fated Piedmont and Winwood sections of the previous layout, I deposited the spikes in a container. Later I separated those spikes by size into three main groups. I had used some oversized Micro Engineering or Walthers spikes, particularly to spike down turnouts. I had used a lot of medium sized ME spikes. And I had used a surprising number of teeny tiny ME micro spikes, which are nearest to scale appearance but are sorely impractical to use anymore due to age related deterioration of my eyesight.

I used the large spikes to install the Code 125 standard gauge sidings at the mill site. Due to my using hastily homemade track gauges, I was not absolutely certain the distance between the rails was precisely P:48 standard gauge, so I only spiked the rails down to every fifth tie or so in case the track gauge needs to be adjusted. I ordered rail joiners for Code 125 rail but Code 100 rail joiners arrived. Since the sidings are absolutely straight, I was able to get along without rail joiners for the time being.
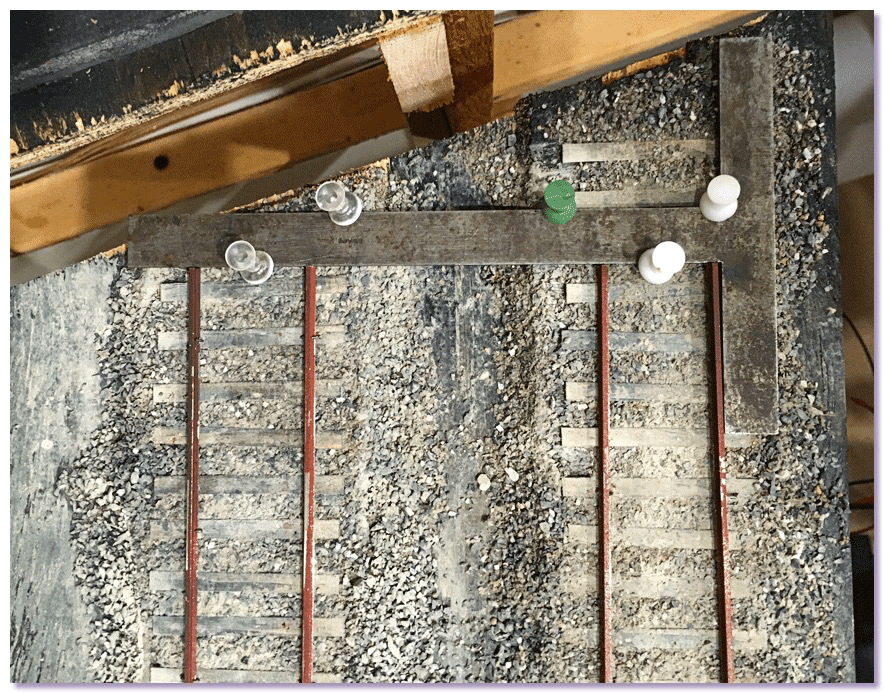
I took care to ensure the rail ends that were close against the wall were aligned and perpendicular to the direction of the sidings.

The reason being that the plan is to eventually install a mirror at that end of the sidings. The mirror will reflect the track in a way that suggests it continues on and does not stop just short of the hidden track behind it. The sides and top of the mirror will be hidden by structures in the mill campus.
The mirror test verified that it will be possible to make it look like the sidings extend to the distance. But the shorter of the two sidings is so short that the far end of track is plainly visible in the reflection, so I will have to come up with some way of blocking the full length reflection of that track.
Ballast and P:48
12/11/20 11:01 Filed in: Roadbed/Track
I am not particularly careful about mixing my ballast recipe.
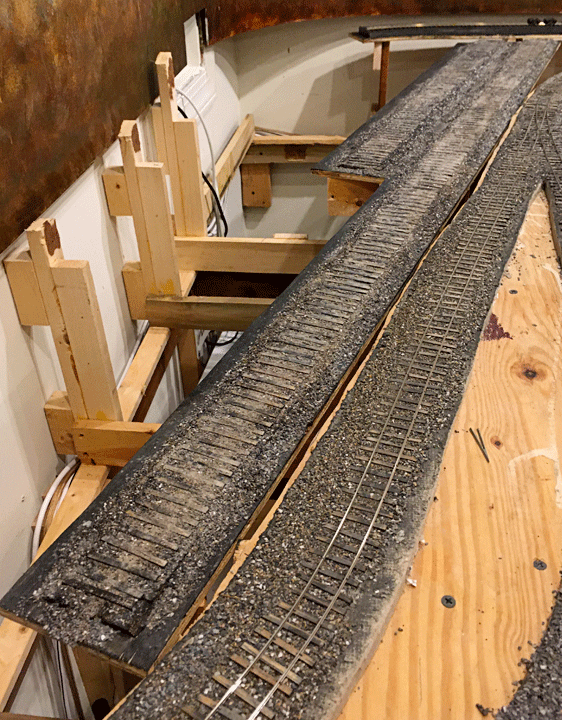
I mix ballast from three basic ingredients:
1. Crushed and screened limestone. I like the neutral color, and how the individual pieces tend to be flat "flake" shaped, which helps to make them look embedded in the ground when spread on roadbed.
2. Dirt from my neighborhood streets. The best time of year to collect street dirt is early Spring. Sand that was spread on the road over the Winter has been ground to a powder by the wheels of passing cars and has drifted to the curb.
3. Soapstone dust. Collected from the floor of the dust mill bagging plant at Schuyler, soapstone dust is light gray with a slight blue-green cast. I will apply it as a weathering powder on just about everything on the layout, so the roadbed needs to be uniform as well.
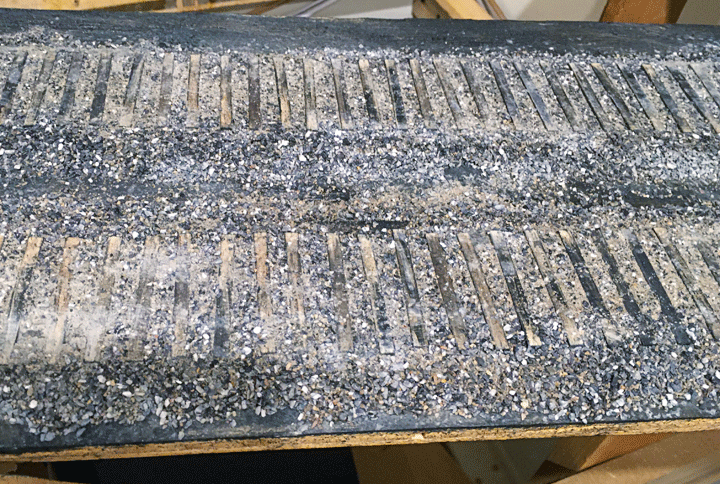
The problems I have with mixing ballast manifest themselves after the ballast is spread on the roadbed. The act of wetting the ballast before gluing it causes the limestone to turn much darker. Once the adhesive is applied to the wet limestone, it never lightens up again after the ballast has dried. The second problem is that the smaller particles of road dirt and soapstone dust tend to be rinsed off the surface of the ballast through the process of wetting and gluing it. I have gotten in the habit of both applying more dust and dirt to the ballast after it is glued down, and going over it with a thin wash to revive the soapstone dust weathering. Rather than depend on a precise ballast mix, the final application of dust and a wash help pull together the tone of different batches of ballast that were mixed and applied at different times.

Ballasting areas along the mainline where the track arrangement was revised meant redoing areas that were originally ballasted over 10 years ago. With a light addition of dust and dirt on top and a thin light colored wash, the new ballast matches the old reasonably well.

With the two long, straight standard gauge tracks ballasted, I could lay the rail. But I don't have any P:48 track gauges. I had a set of very nice custom made O gauge track gauges when I was working on the Railroad Display at the Quarry Gardens, but I did not want to go to that expense for the sake of the little bit of standard gauge track to build on my home layout.
I quickly knocked together two crude track gauges in styrene. They would suffice given that the track I had to lay was simple, straight, and static, not having to reliably handle moving trains. The Code 125 rail I used for the standard gauge track is stiff enough to remain straight on its own, so it was just a matter of uniformly spacing the rails 4 feet 8 inches apart.
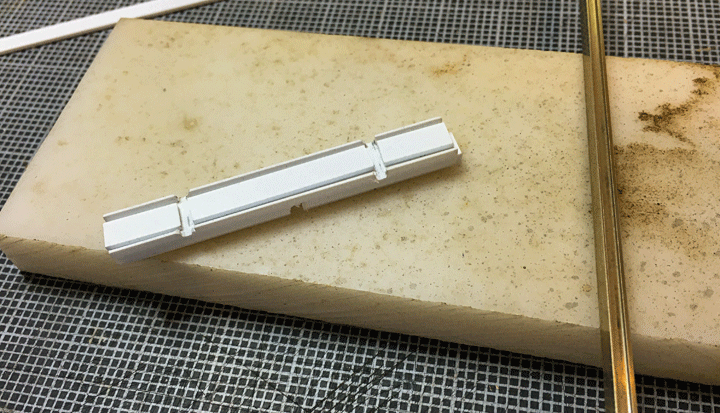
A Plastruct I-beam and a few strips were glued together, then grooves were cut the approximate width of the Code 125 railhead approximately scale 4 feet 8 inches apart.

I turned the track gauge over and cut another groove in the top that was centered between the rails.
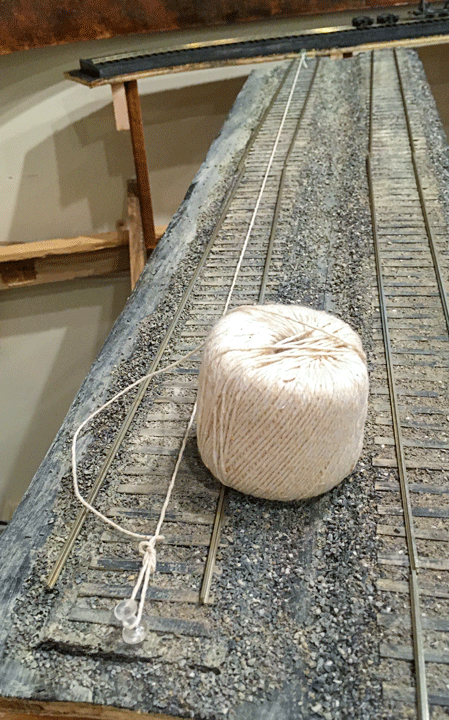
I tacked a centerline down the length of the siding before positioning the rails. Time to start laying track.